Blueprints
Blueprints are pre-composed pipelines that are ready to use. You just need to add them to your dashboard and configure your accounts for the relevant services. Blueprints save time, eliminate pipeline building errors and help tremendously in getting your apps talk to each other. Cloudpipes offers a large collection of blueprints for most of the pipelines Cloudpipes supports.
Adding a pipeline from a blueprint to your account
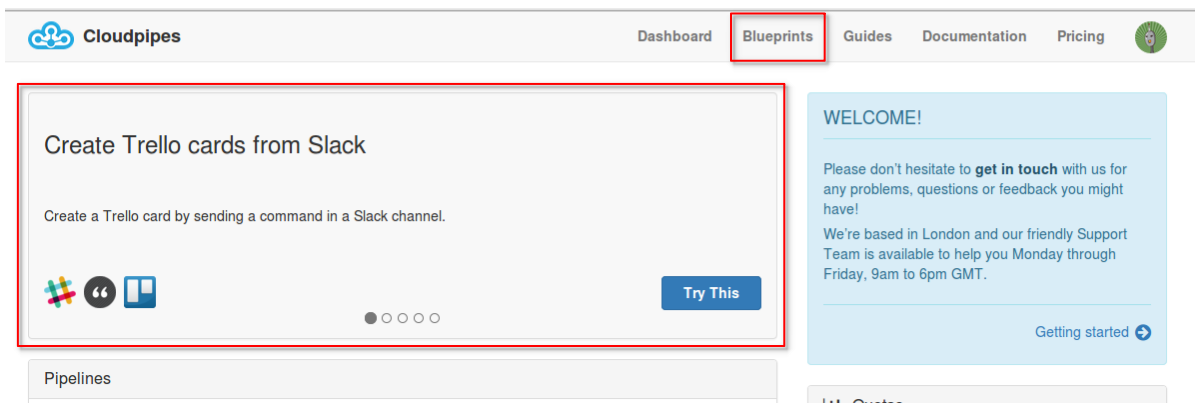
Adding a pipeline base on a blueprint to your account is easy. For easy access we have added a carousel demo containing blueprints that you may find useful on the Dashboard. If you do like one of those just click on the Try This button to have it immediately in your account. In order to get to the full library of blueprints just click on Blueprints from the header navigation bar :
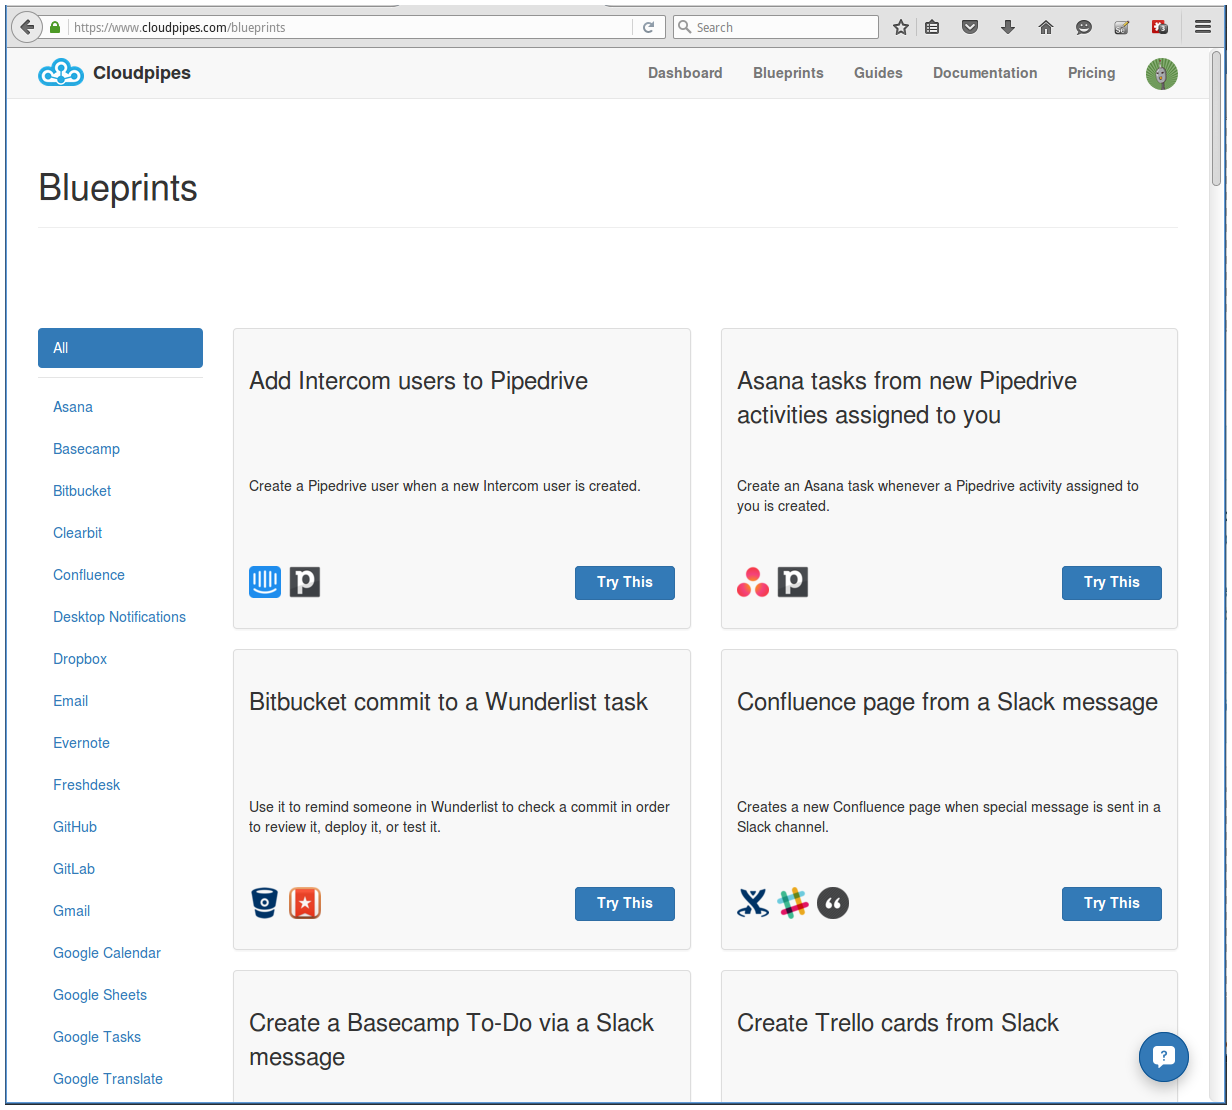
Once you have the Blueprints page open you will see a list of the channels on the left and a list of the available blueprints on the right. All blueprints have a short descriptive name that explains in brief what the blueprint implements, and also a longer description that goes in to more detail. Each of the blueprint also has icons of the channels used in this blueprint and most importantly a Try This button that will make a pipeline based on that blueprint in your account.
The channels list on the left is also a filter for the list of blueprints, so you are interested in say blueprints that involve say GMail, all you need to do is to find GMail in the list and click it. This will filter the blueprints shown on the right to only the ones that have the GMail channel in them.
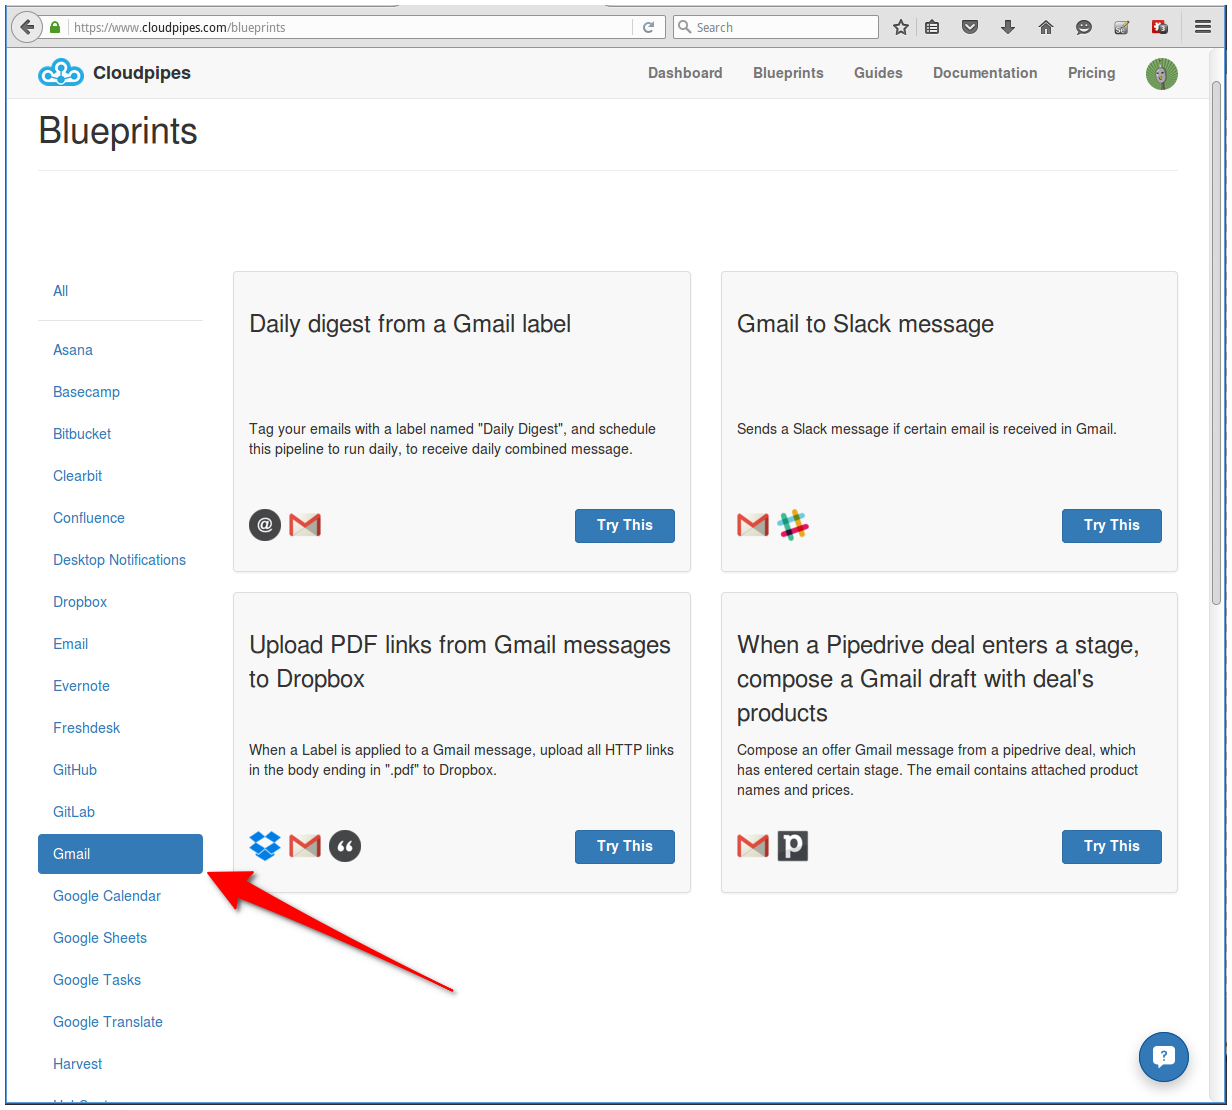
As an example we are going to try the “GMail to Slack message” blueprint, by clicking on the Try This button. Once you click it, a pipeline with the same name will be created in your account and will open in the Editor.
Configuring the necessary fields
There’s only one thing left to do in order to start using this pre-assembled pipeline - select the accounts you want to use and configure personal details to the pipes that need it.
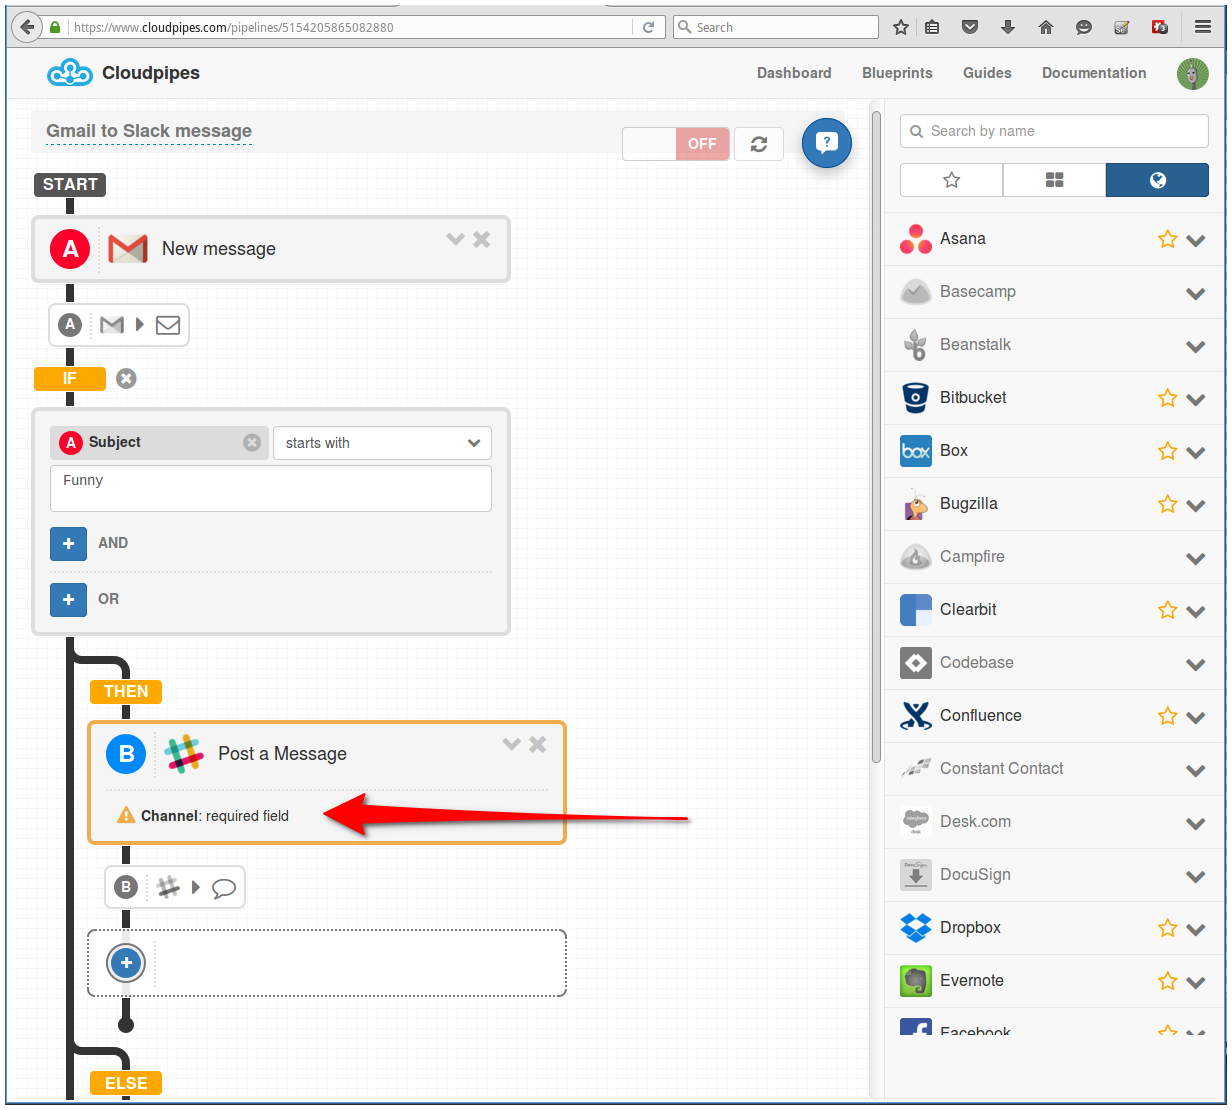
Adding a blueprint based pipeline to your account will try to automatically select accounts for the pipes in the blueprint for which you already have accounts configured. If you need to use a different account than the one automatically chosen, just open the relevant pipe and select another account. You will also see that some pipes have yellow exclamation marks to them – this shows you that some personalised information needs to be configured. In the example above you will need to select the Slack channel you want the messages posted to. Also note that I decided to go with the default choice of accounts to use for both GMail and Slack and since I had them already configured I did not have to do anything other than select the Slack channel to post the messages to.
Conclusion
This is all there is to it really. By using a Blueprint we have created a full-blown pipeline in only a few clicks. In this brief tutorial we saw how to access the Blueprints page, browsed though the catalog of Blueprints, built a pipeline based on a blueprint and configured the needed personalised options.
Should you need any assistance, as usual just drop us a line at support@cloudpipes.com or reach us in the in-app chat.
Happy integrating with Cloudpipes!